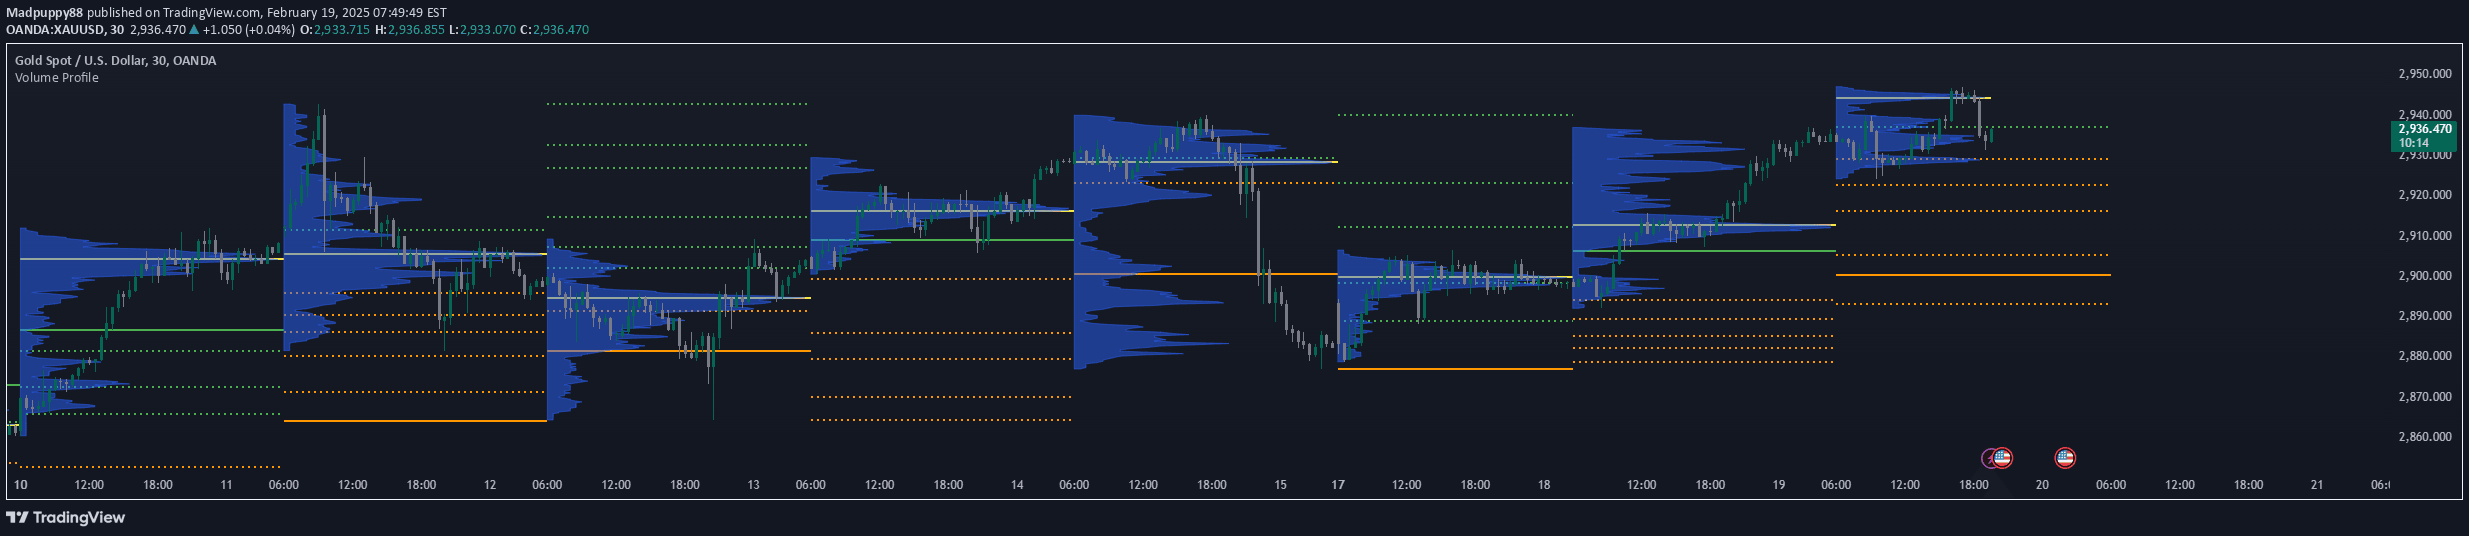
A trading indicator that analyzes Globex session price ranges and Supply & Demand zones to identify potential trading opportunities and significant price reaction areas.
Explore complementary indicator rolesHow it works
The Globex Trap Indicator operates by tracking two critical time periods: the Globex overnight session and the Supply & Demand zone during regular market hours. During the Globex session (default 6:00 PM - 9:30 AM), the indicator monitors overnight price action, marking the session's high and low points to help identify potential range breakouts.
In the Supply & Demand zone (default 8:00 AM - 11:00 AM), the indicator tracks price action during key market hours, identifying potential reaction zones and institutional trading areas. By analyzing the relationship between these two periods, traders can spot areas where price might experience significant movements or trap scenarios.
Why it may be useful
This indicator provides traders with a sophisticated tool for understanding market dynamics by revealing hidden trading opportunities during critical market periods. By visualizing Globex session ranges and Supply & Demand zones, traders can gain insights into potential institutional trading activities and price reactions that might not be immediately apparent.
The ability to customize time ranges and visual settings allows traders to adapt the indicator to their specific trading style and instrument, making it a versatile tool for identifying potential trading opportunities. By highlighting trap areas and key price zones, the indicator helps traders make more informed decisions and potentially improve their trading strategy.
When to explore it
The Globex Trap Indicator is most effective when used on futures and instruments actively traded during Globex sessions, particularly on 1-hour timeframes or lower. Traders should focus on areas where the Globex range and Supply & Demand zones overlap, as these regions often indicate potential significant price movements.
To maximize the indicator's effectiveness, traders should use it in conjunction with their existing trading strategy and ensure they have at least 10 days of historical data for proper context. The indicator is particularly useful for traders looking to identify potential breakouts, institutional trading areas, and significant price reaction zones during key market hours.
Keep exploring
What we’ve verified
Access, alerts and repainting behaviour have not been independently verified for this indicator. Check the creator’s current publication and settings.
General descriptions and classifications are recovered research. Verified details above identify the specific checks we have completed. Check the creator’s current publication for later changes.